Laser cutting recycled plastics
Cut Settings
- I didn't save these settings - Andy had settings pre-stored on his RDWorks Ruida software (and saved in his head from experience cutting many things!) It would be a nice project to document these settings somewhere, if it isn't already :)
- Multiple passes are needed for plastics like HDPE, PLA.
Process
Check out this video documenting part of the laser cutting process!

Design a vector file and save it as a SVG
For lines to be cut as a single line along a path, keep the line vectorized as a path. At Dinalab, a default stroke color is Magenta 100% (CMYK). (I set the stroke thickness to .01in, though the RDWorks Ruida software ignores stroke).
For solid etched fills, rasterize the shapes. In Illustrator this can be done by going to
Object > Rasterize.... The laser rasters grayscale bitmap images, so if you want a completely etched shape, fill it black and set the background to white.Note that earrings and keychains need different size holes for the different thicknesses of the hooks.
Prepare the file in the Thunder Laser software
Software needed: RDWorks Ruida (PC) - Probably a particular version needed to work with the firmware installed on the laser cutter. For Macs a software called Lightburn might work, but we didn't test it out.
Set the cut settings (e.g. number of passes, power) in Ruida
Press "Save to UFile" to save the file as an .rd file and on to a USB drive.
.png)
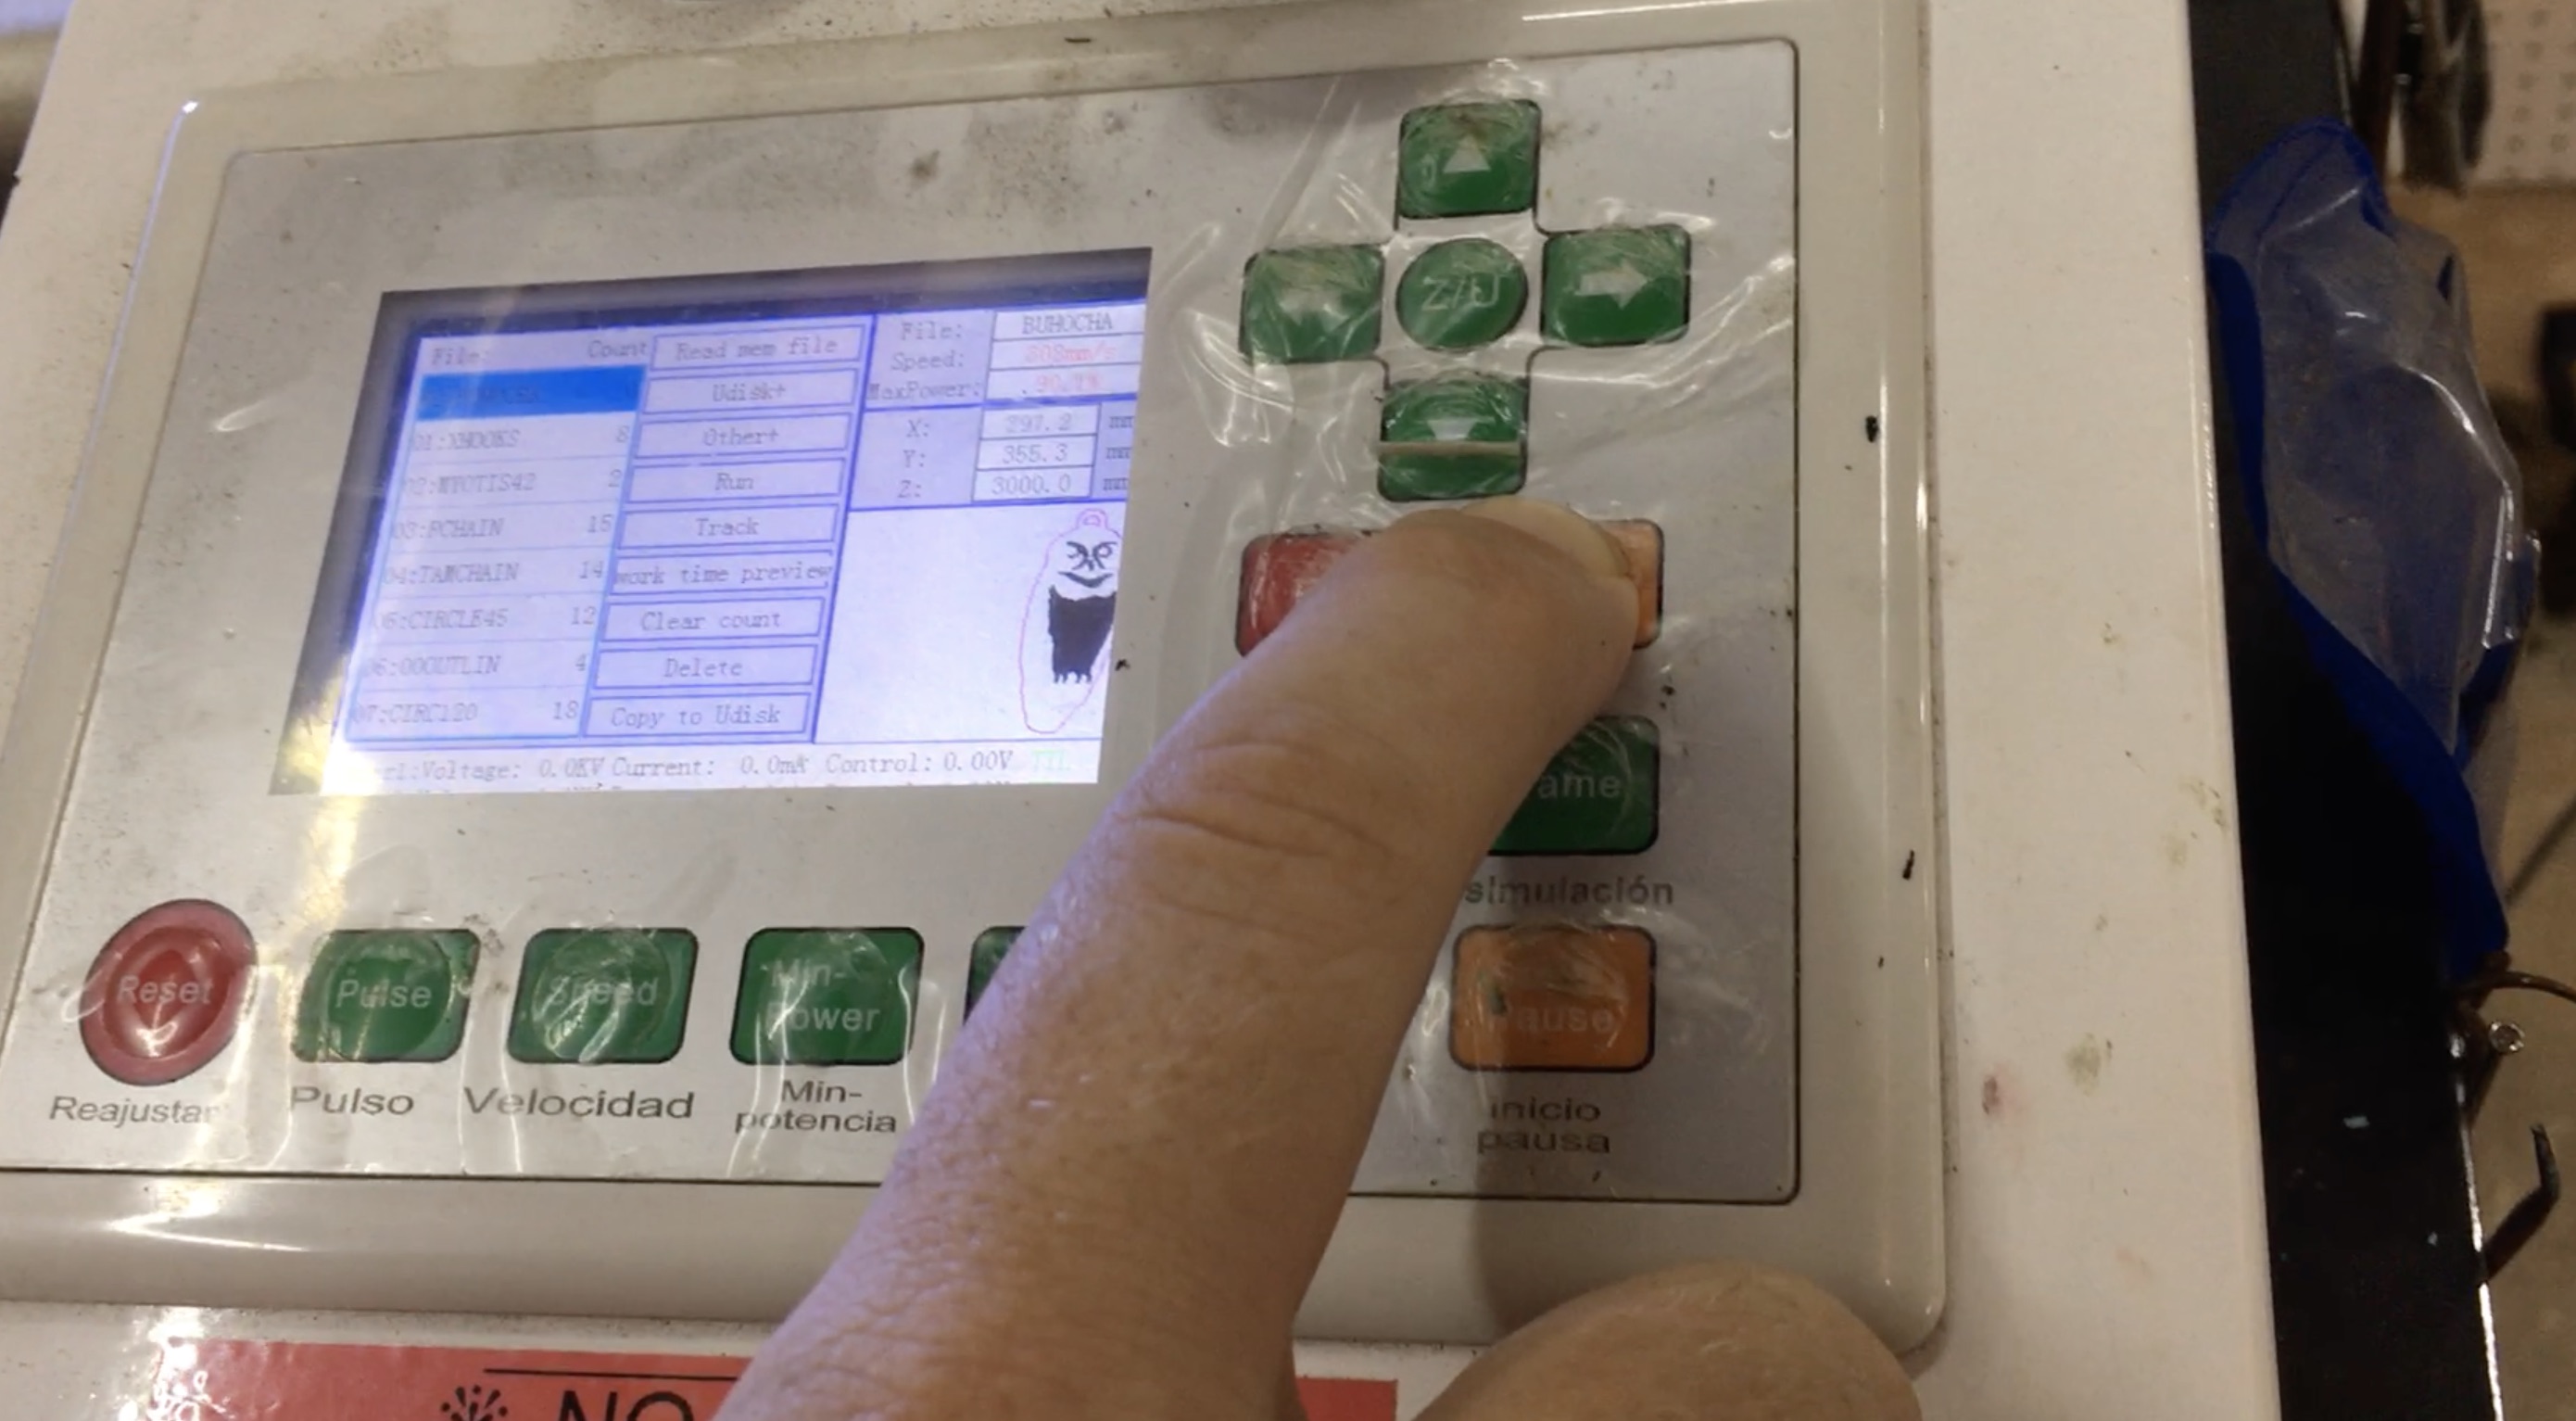
Navigate the laser interface to load the file onto the laser
Plug the USB drive into the laser cutter.
See the video for part the process of reading the udisk and loading the file
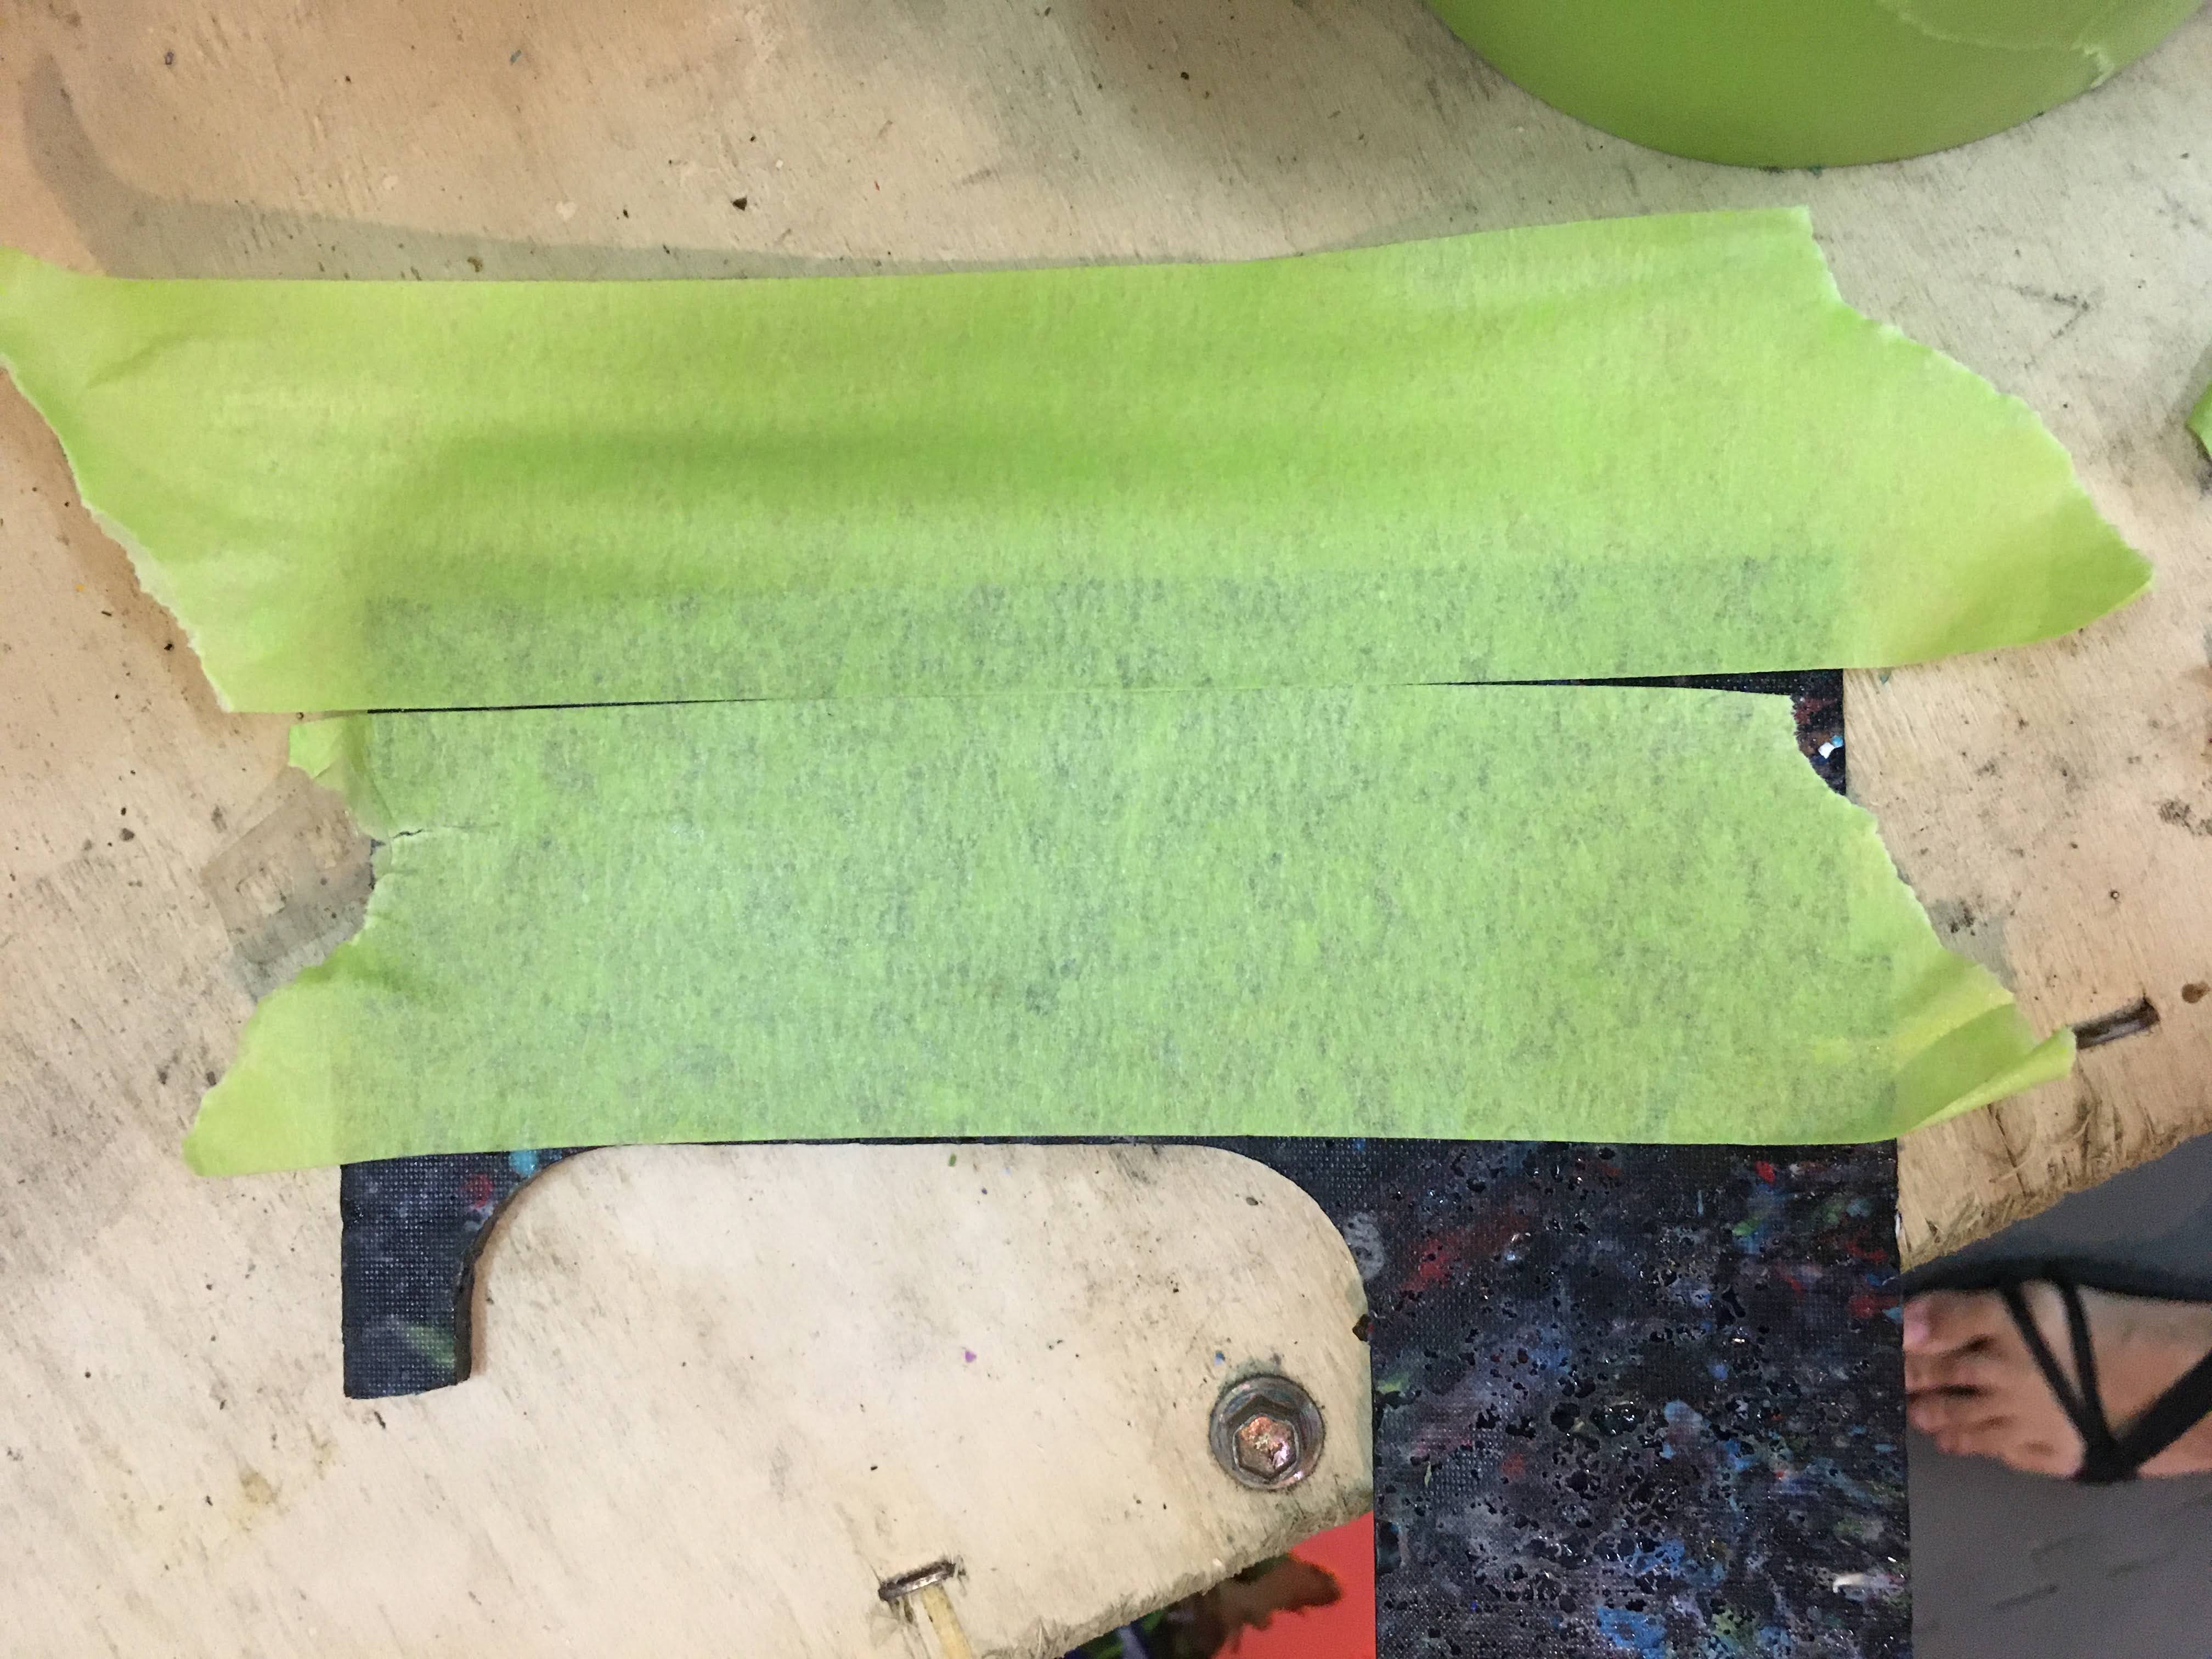
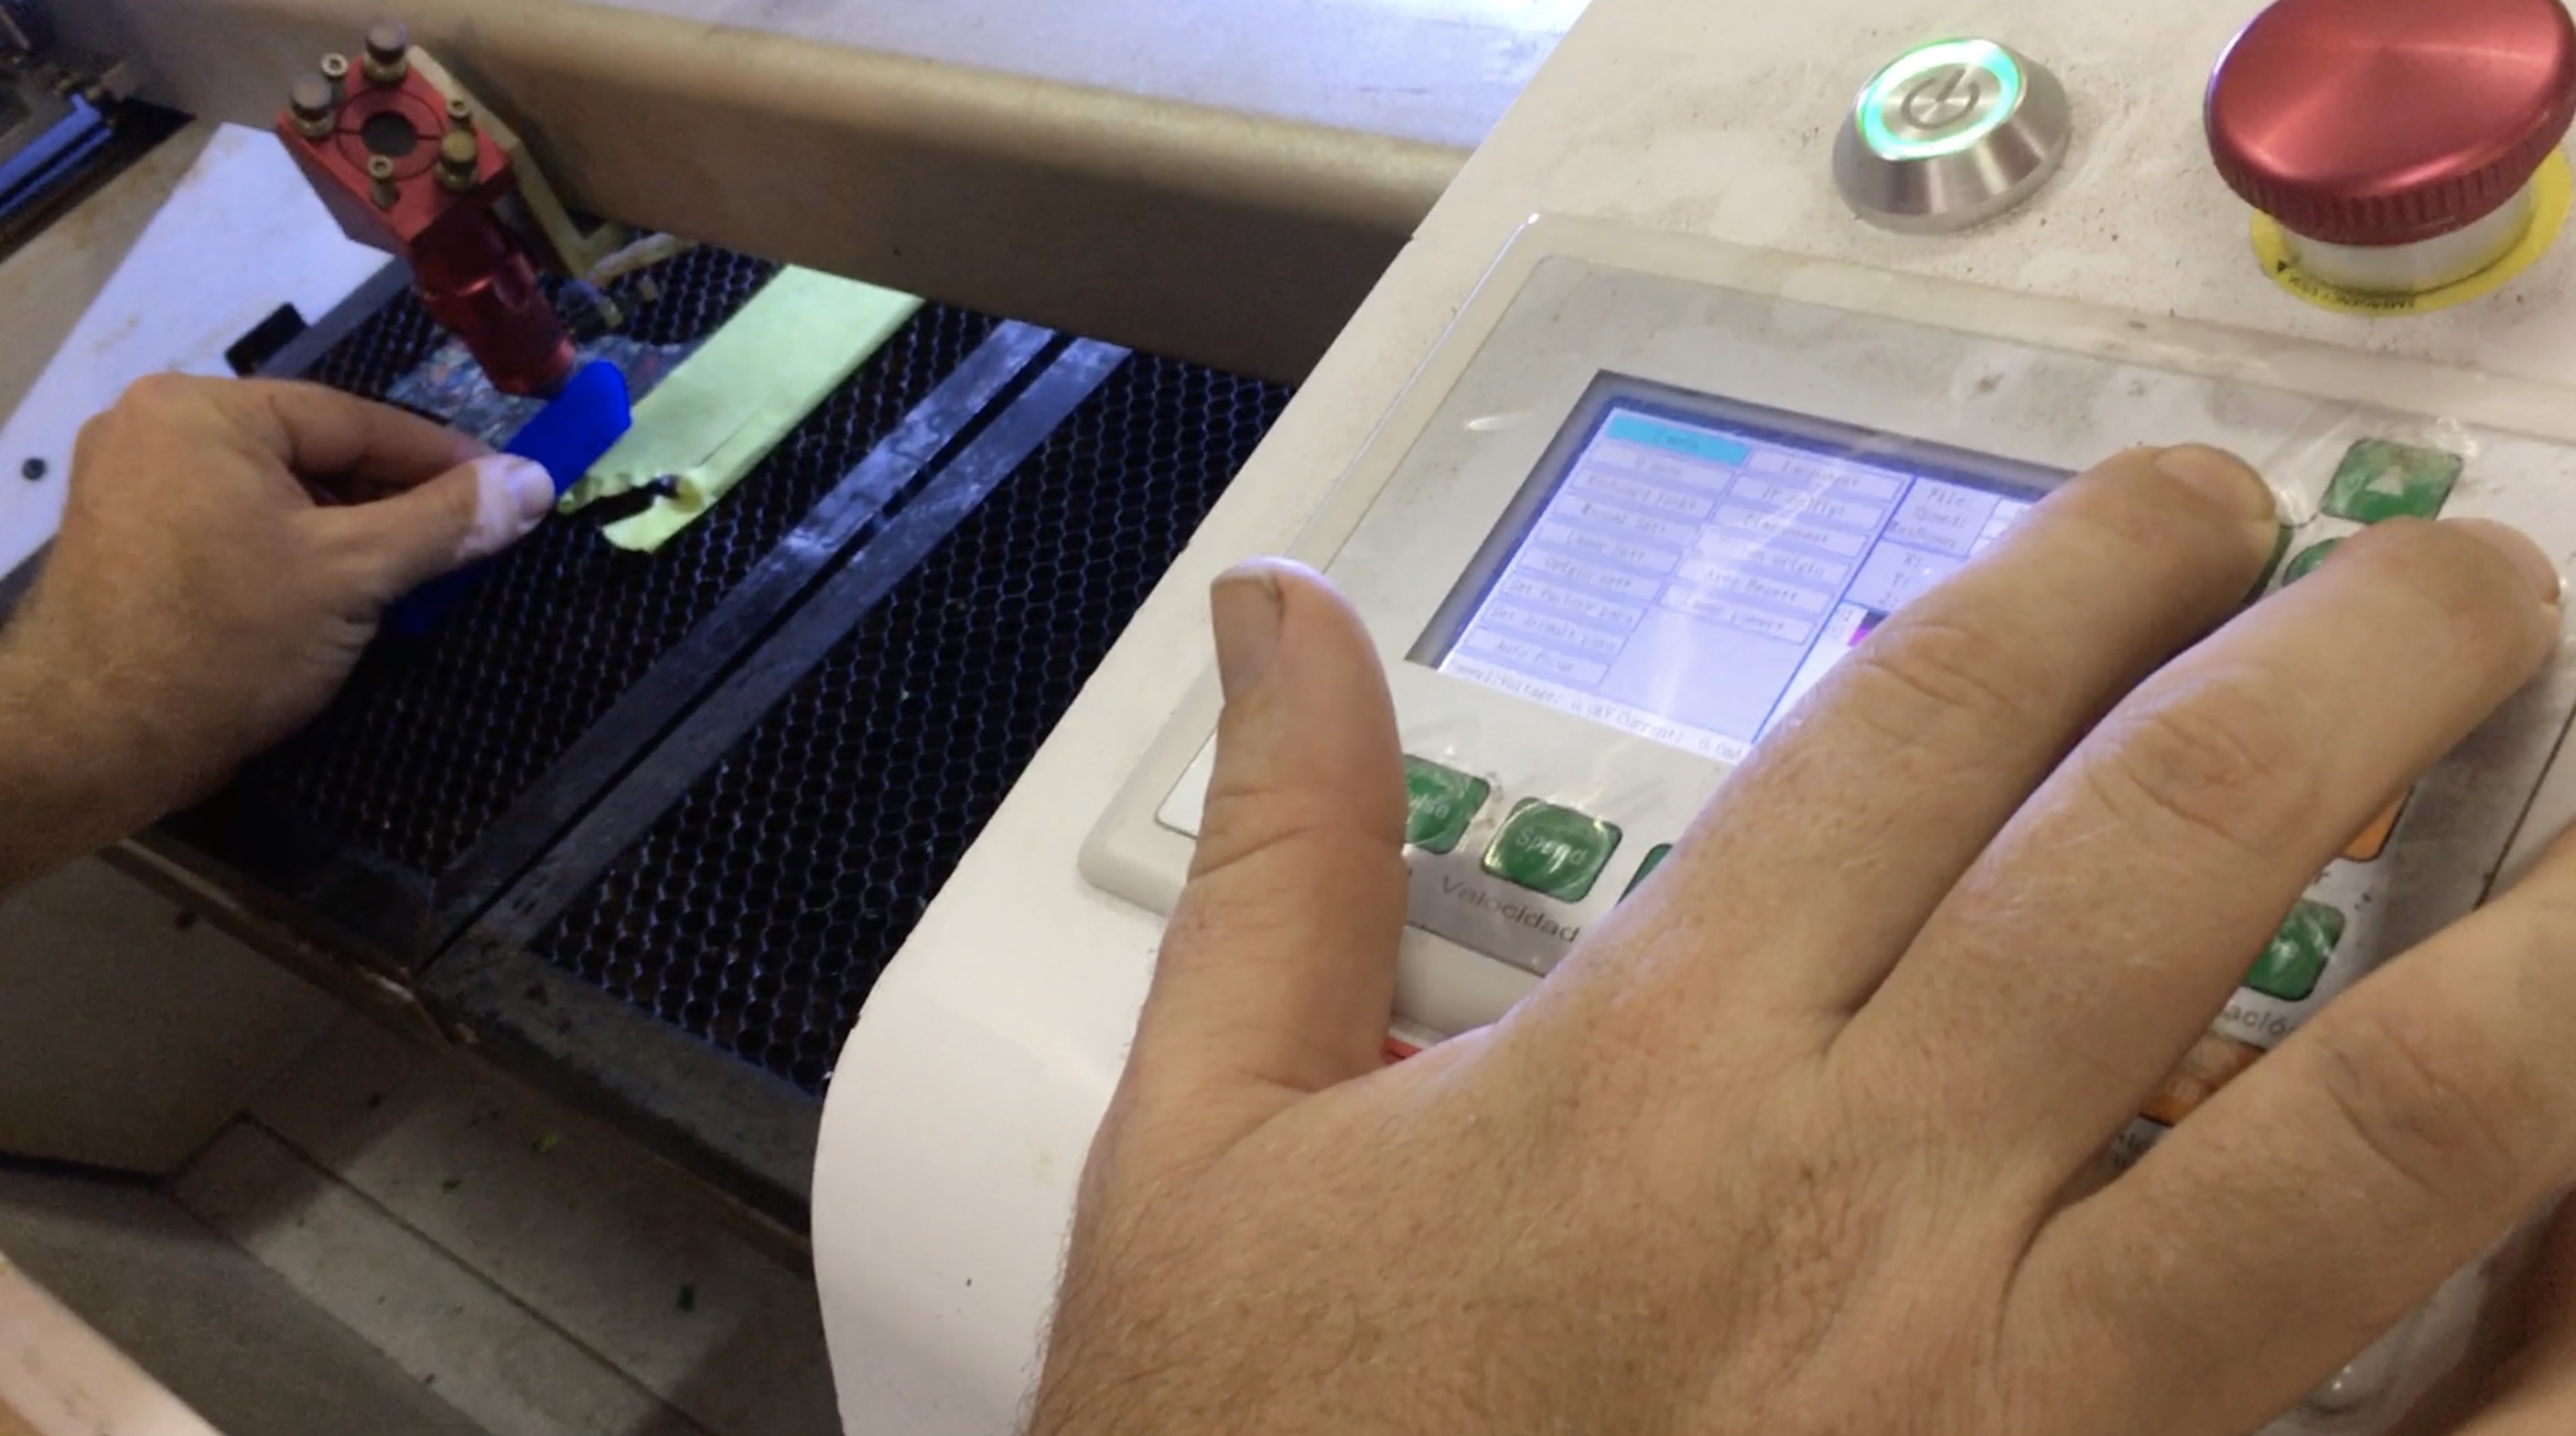
Prepare the material for cutting
Mask the material before cutting with masking tape. This helps prevent burn marks and also is used for the spray painting process after the tape is etched off.
Take your sheet of material and place it on the laser bed
Use the z-height focus tool (22mm height) to set the height of the laser appropriately (press Z/U on the laser to adjust Z height, use left-right arrows to move up and down)
Set the origin and check the frame
Origin can be moved by using the up/down/left/right arrows and then pressing "Origin"
Press "Frame" to have the laser head outline the frame in which it's going to cut.
Move the material, if necessary, so it's inside the frame.
Turn on ventilation
Close the door, switch on the filter pump and exhaust fan
Open garage doors for better ventilation
Start cutting! Press "Inicio"